- build tool
- |--- ant
- |--- maven --> jar, war파일
- build
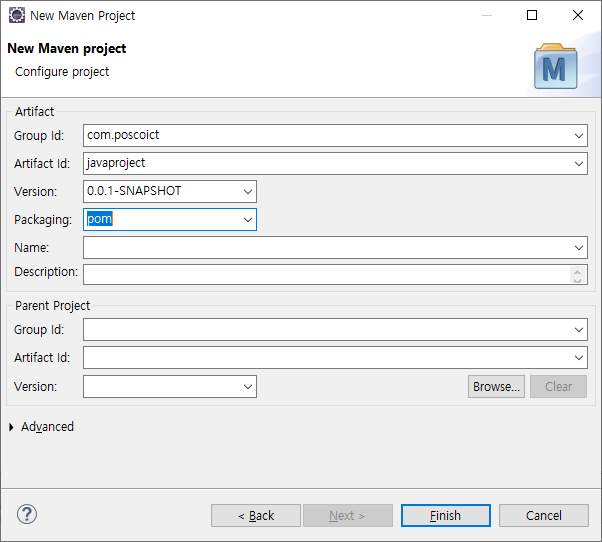
- pom.xml : 프로젝트 설명 manifest
- dependency : 라이브러리 의존성
- build desciption (배포 우찌하는 지): compile, packaging, deployment
- pom.xml : 프로젝트 설명 manifest
- |--- gradle
- 콘솔, 웹어플리케이션의 차이
- 한 놈이 public static void main 가지고 있어야한다.
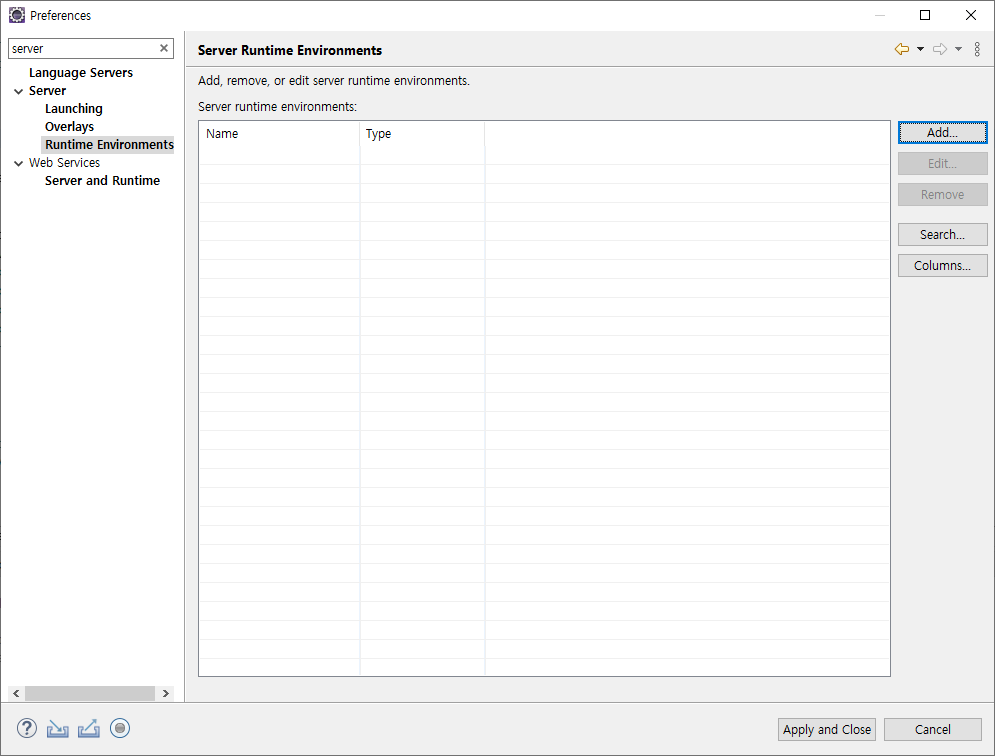
tomcat
|--- webapps
|--- /admin
|--- mysite.war
|--- /mysite
- 직접 admin 에 접근해서 해도 되고,
- 자동적으로 해도 되고 (톱캣 플러그인) -> 소켓열어서 -> admin -> 파일 업로드 -> 톰캣이 풀어서
- 이클립스에서 일어나진 않는다. ( C서버)
멀티 프로그램
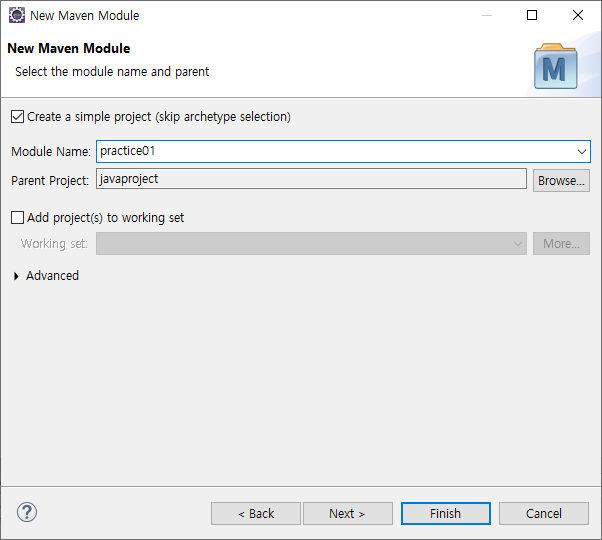
javastudy
|--- practice01
|--- practice02
|--- practice03
|--- practice04
|--- practice05
부모 모듈의 pom.xml가서
	<!-- 한글 -->
	<properties>
		<project.build.sourceEncoding>utf-8</project.build.sourceEncoding>
		<project.reporting.outputEncoding>utf-8</project.reporting.outputEncoding>
	</properties>

	<dependencies>
	</dependencies>

	<build>
		<sourceDirectory>src/main/java</sourceDirectory>
		<finalName>helloworld</finalName>
		<plugins>
			<plugin>
				<groupId>org.apache.maven.plugins</groupId>
				<artifactId>maven-compiler-plugin</artifactId>
				<version>3.8.0</version>
				<configuration>
					<source>11</source>
					<target>11</target>
				</configuration>
			</plugin>
		</plugins>
	</build>
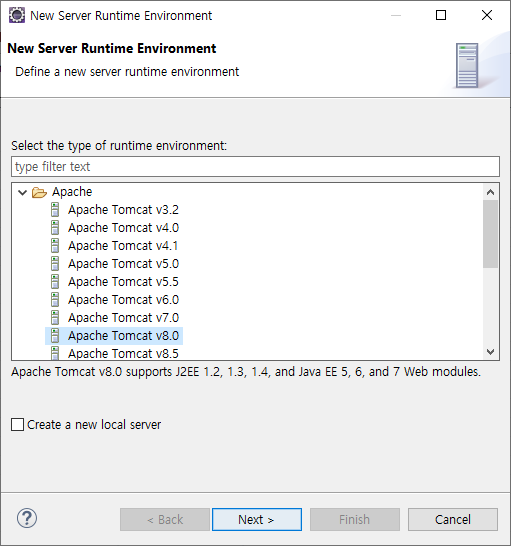
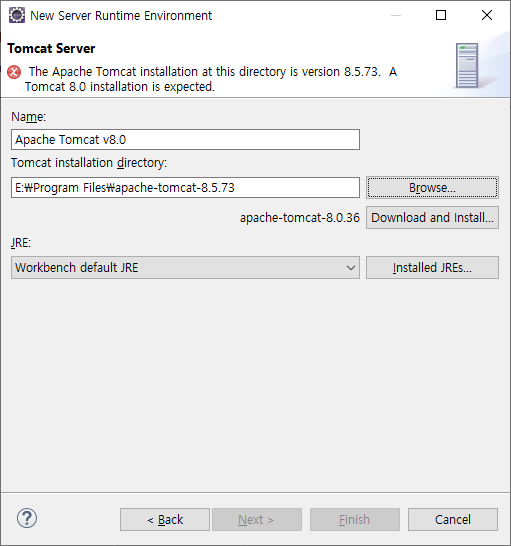
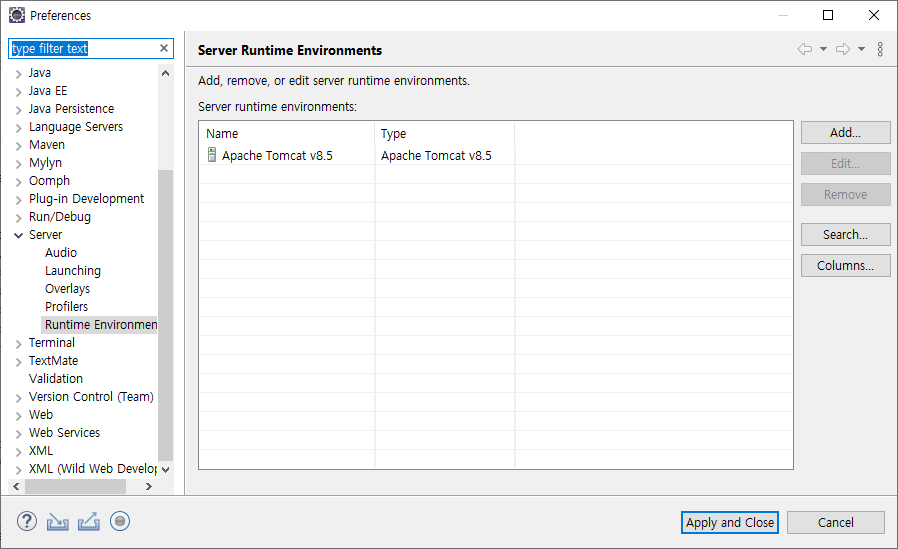
톰캣 재설치

mysql 정보 들고오기
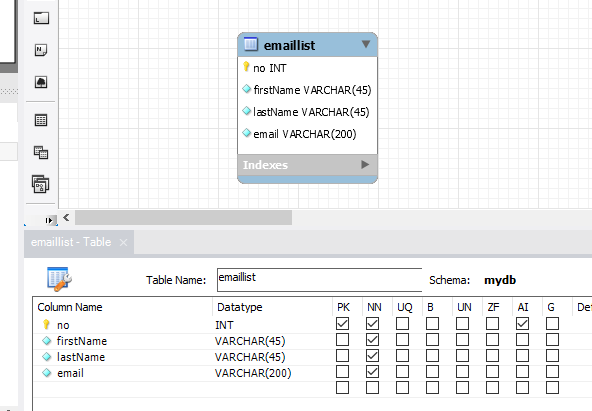
mysql의 table내용 불러오기
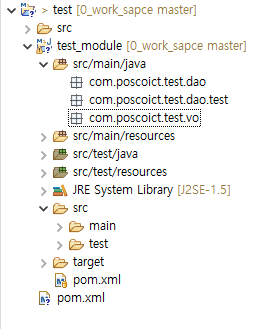
testVO.java
package com.poscoict.test.vo;

public class testVO {
	private Long no;
	private String firstName;
	private String lastName;
	private String email;
	public Long getNo() {
		return no;
	}
	public void setNo(Long no) {
		this.no = no;
	}
	public String getFirstName() {
		return firstName;
	}
	public void setFirstName(String firstName) {
		this.firstName = firstName;
	}
	public String getLastName() {
		return lastName;
	}
	public void setLastName(String lastName) {
		this.lastName = lastName;
	}
	public String getEmail() {
		return email;
	}
	public void setEmail(String email) {
		this.email = email;
	}

}
mysql
1. mysql connection 추가
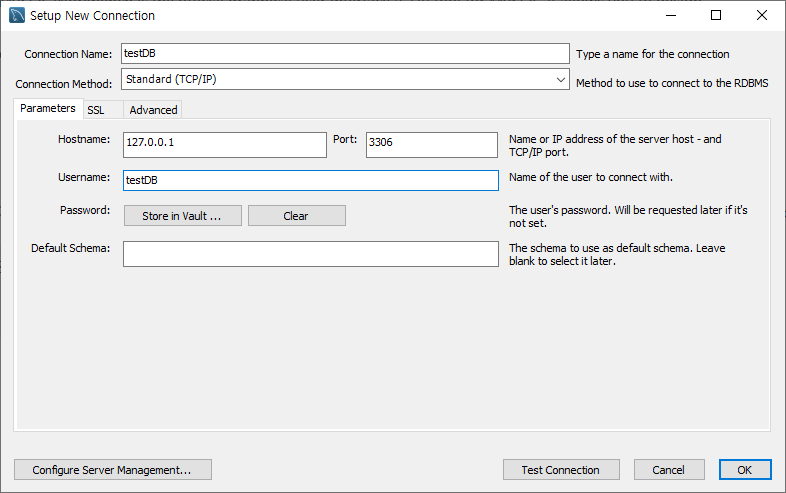
2. 사용자 추가 & 비밀번호 설정 (testDB로 설정함)
create user 'testDB'@'localhost' identified by 'testDB';
3. 사용자 권한 부여
-- 권한 부여
grant all privileges on webdb.* to 'testDB'@'localhost';- 만약 grant all privileges on a.* to 'tttt'@'localhost';
- 이면 tttt에게 a의 모든 테이블에 대한 권한 부여
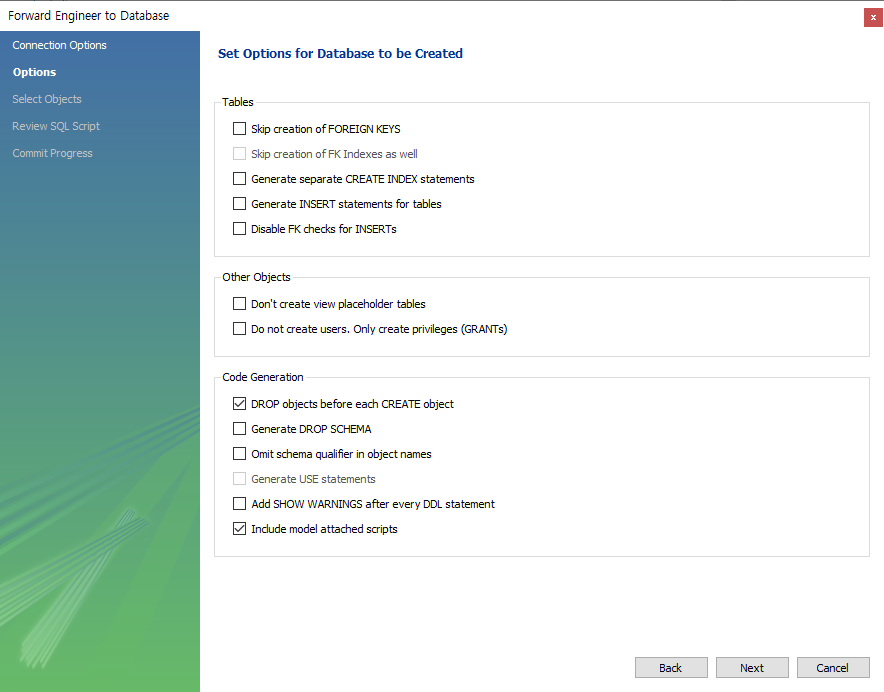
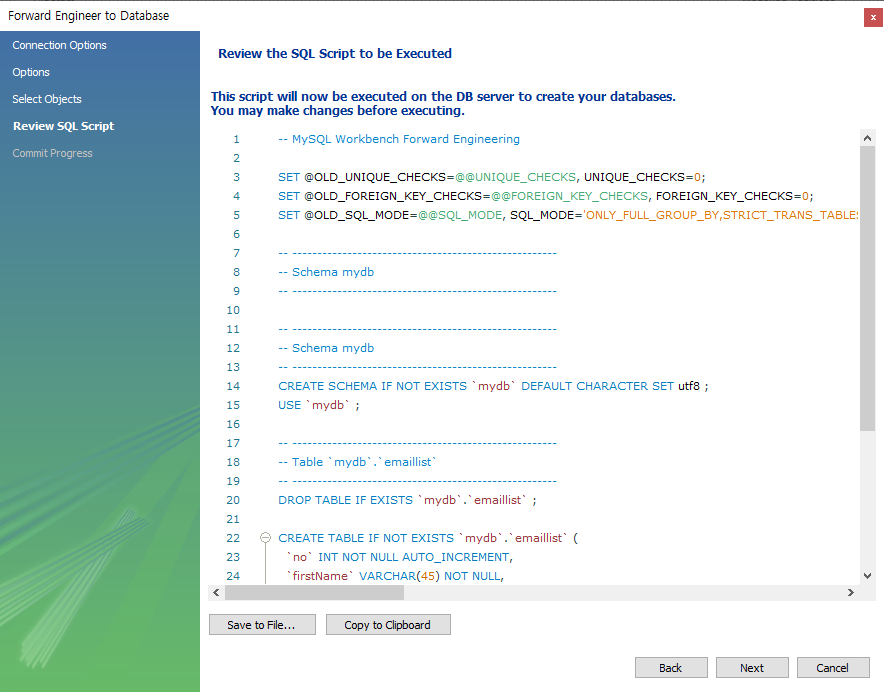
4. Diagram 만들기
5. Forward Engineer를 누른다.

show tables;

desc emaillist;
insert into emaillist values(null, '둘', '리', 'dooly@gmail.com');

-- read
select `no`, `firstName`, `lastName`, `email` from emaillist order by no desc;
설정해준다.